Click to open the Add Category Tree form.
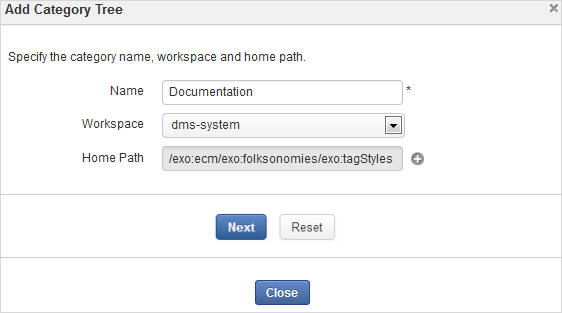
Enter the category tree name in the Name field which is required.
Select the workspace you want to work with.
Select the home path by clicking
 . The
Select Home Path
form will appear.
. The
Select Home Path
form will appear.
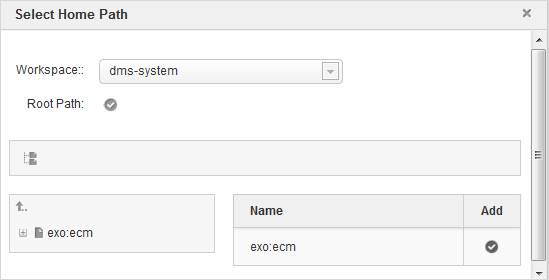
Click
 next to Root Path if you want to select the root path or;
Click the arrow icon to go to the up level path and click the plus sign to expand the folder in the left pane.
Click
corresponding to the path that you want to select as a home path.
Click to select permissions for the category tree.

i. Click
 or
or  or
or  to set permissions for user, membership or everyone respectively. Your selected user or membership will be
displayed in the User or Group column.
to set permissions for user, membership or everyone respectively. Your selected user or membership will be
displayed in the User or Group column.
ii. Check the right options for the selected user to membership:
Note
Ticking only Add Node Right or Remove Right means that Read Right is selected automatically.
Click to save all values, or to change values that have just been set. After clicking , click to go to the next step.

Enter the name for an action of the category tree in the Name field which is required.
Select values for Lifecycle, Node Types, Target Workspace, Target Path, Affected Node Types which are required.
Click to commit all values.
Note
Do not input some special characters into the Name field, such as: !,#,$,&,*,(,).
Do not add a category which has the same name and level with existing taxonomies in a node.