Installation Wizard
Double-click to start the installation wizard after downloading.
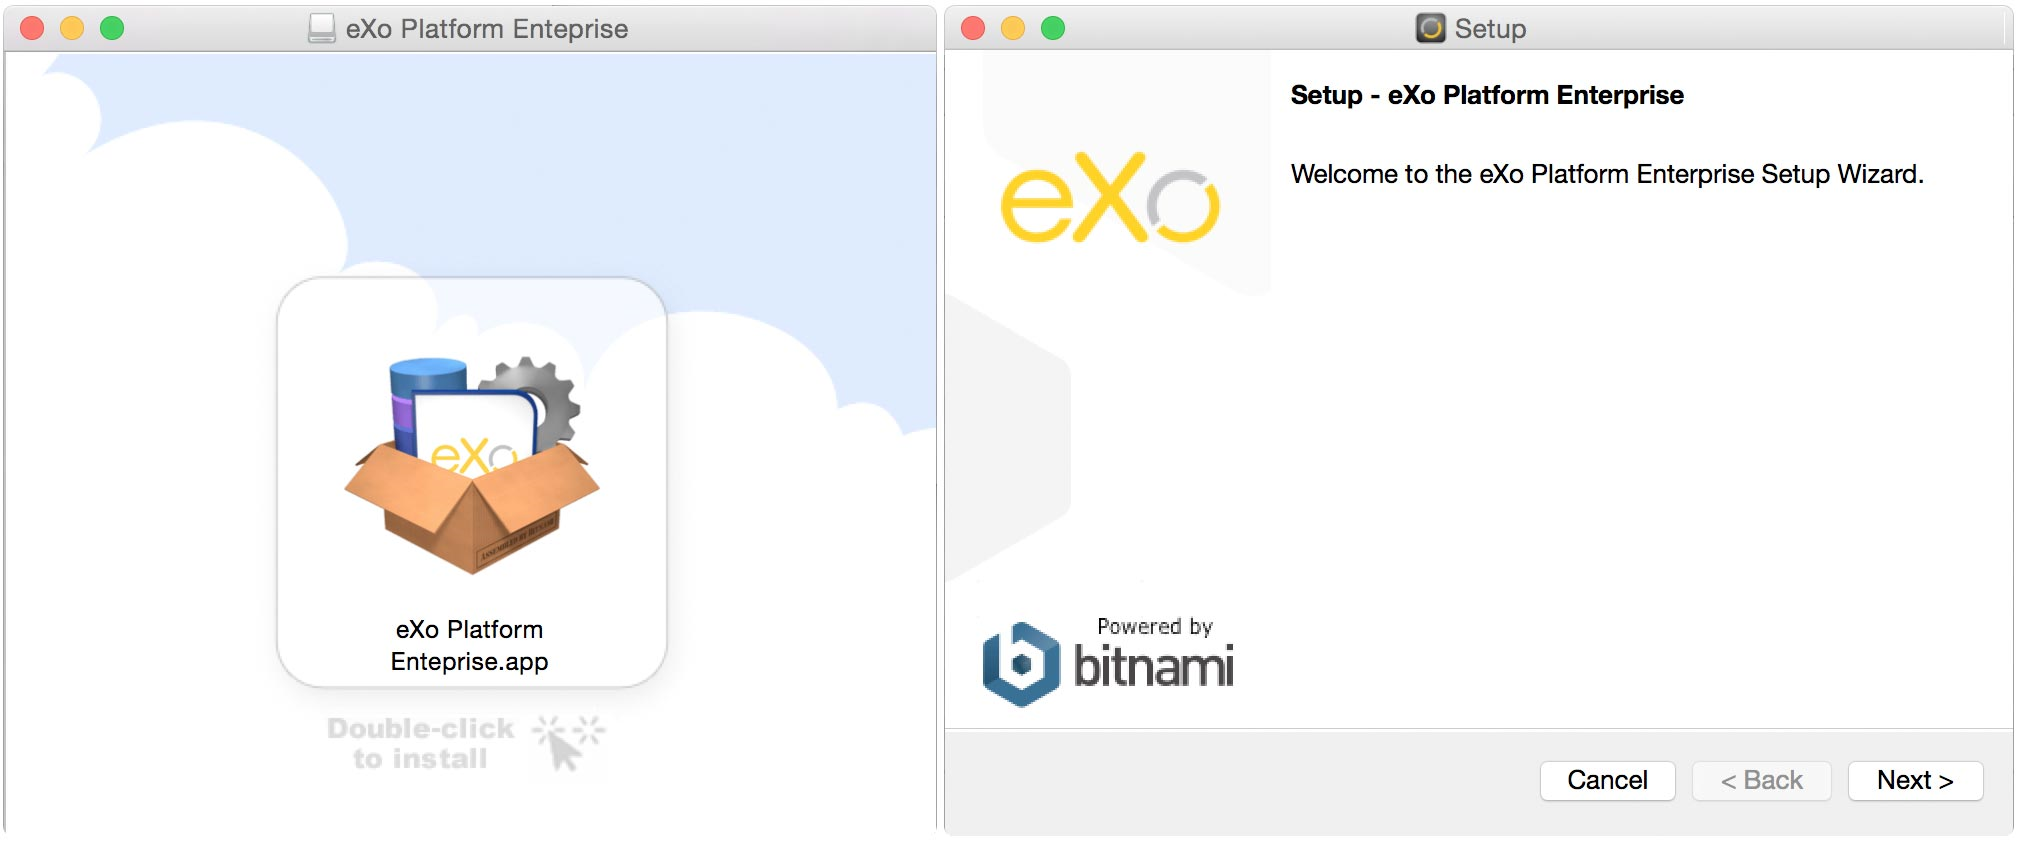
Click Next and choose where you want to install eXo Platform.

Set up your user account and admin password, for instance:

Change the default ports (if asked by the wizard) which are already in use by other applications, for instance the Web Server port:
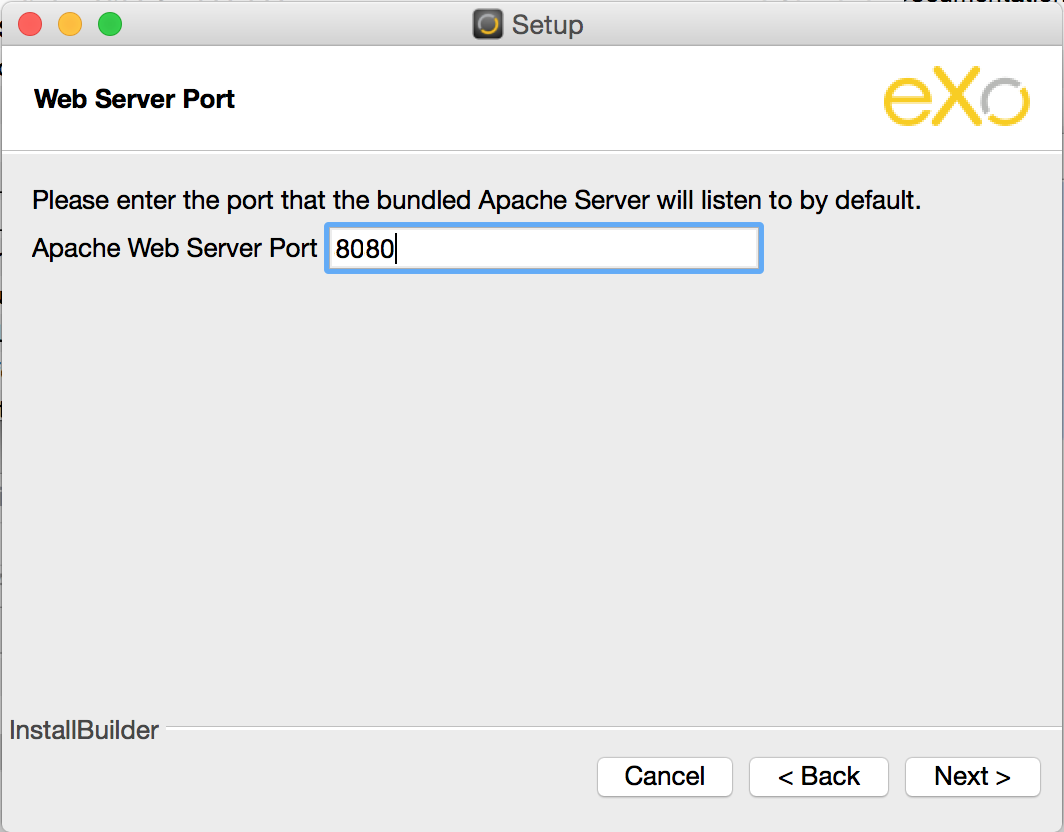
The port 8080 is the default one of Apache Web Server. In this case, you should change it to another port, such as 8880. See here for other default ports.
Set up your mail server so that eXo Platform can send email:

If you do not have a mail server, just bypass this screen or use GMail settings instead.
Click Next, you will see that the installation process is running:
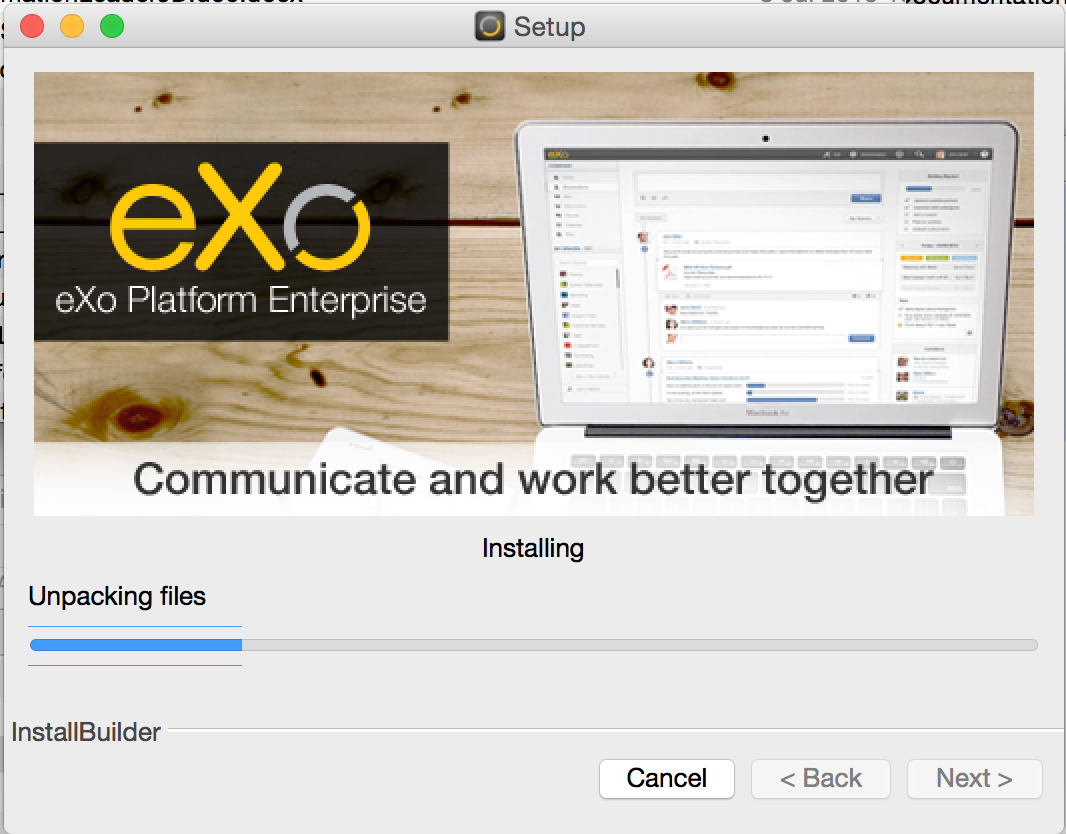
During this process, Platform Tomcat, PostgreSQL and Apache Web Server will be installed. Once the installation is finished, the wizard will prompt you to launch eXo Platform Enterprise.

Manager application
After launching eXo Platform, you can use the Manager application to manage the web, Tomcat and database servers. From this application, you can start, stop or restart each server individually or all at once.

Besides, it provides you shortcuts to the application folder and eXo website. Click Open Application Folder to go to the Native Installer home folder. Let $NATIVE_INSTALLER_DIR be this folder's path. For more operations of eXo Platform with the Native Installer, refer to the Bitnami eXo Platform wiki page.