Warning
You are looking at documentation for an older release. Not what you want? See the current release documentation.
Creating a gadget is very simple. To create a gadget through a Webapp, you need to create a sample bundle where you will add and deploy your gadget. This procedure walks you through steps to create a very simple gadget called Hello World.
The source code is provided here.
Note
Unlike portlet, the gadget webapp is always required to be a portal extension.
As of 4.3, this can be done simply by adding a META-INF/exo-conf/configuration.xml file.
The META-INF/exo-conf/configuration.xml file should has the content below. Unless you use a traditional
custom-extension-config.jar, always add this file to your gadget webapp, though it might not be repeated in later tutorials.
<configuration xmlns:xsi="http://www.w3.org/2001/XMLSchema-instance"

    xsi:schemaLocation="http://www.exoplatform.org/xml/ns/kernel_1_2.xsd http://www.exoplatform.org/xml/ns/kernel_1_2.xsd"

    xmlns="http://www.exoplatform.org/xml/ns/kernel_1_2.xsd">

    <external-component-plugins>

        <target-component>org.exoplatform.container.definition.PortalContainerConfig</target-component>

        <component-plugin>

            <name>Add PortalContainer Definitions</name>

            <set-method>registerChangePlugin</set-method>

            <type>org.exoplatform.container.definition.PortalContainerDefinitionChangePlugin</type>

            <priority>101</priority>

            <init-params>

                <values-param>

                    <name>apply.specific</name>

                    <value>portal</value>

                </values-param>

                <object-param>

                    <name>addDependencies</name>

                    <object type="org.exoplatform.container.definition.PortalContainerDefinitionChange$AddDependencies">

                        <field name="dependencies">

                            <collection type="java.util.ArrayList">

                                <value>

                                    <!-- CHANGE THIS ACCORDINGLY TO YOUR WEBAPPS -->

                                    <string>hello-gadget</string>

                                </value>

                            </collection>

                        </field>

                    </object>

                </object-param>

            </init-params>

        </component-plugin>

    </external-component-plugins>

</configuration>
Here are the steps to create your first gadget:
Create a Maven project with the following
pom.xmlfile. See the project structure in the source link given above.<project xmlns="http://maven.apache.org/POM/4.0.0" xmlns:xsi="http://www.w3.org/2001/XMLSchema-instance"
xsi:schemaLocation="http://maven.apache.org/POM/4.0.0 http://maven.apache.org/maven-v4_0_0.xsd">
<modelVersion>4.0.0</modelVersion>
<groupId>sample</groupId>
<artifactId>gadget</artifactId>
<packaging>war</packaging>
<version>1.0</version>
<name>Hello Gadget sample</name>
<build>
<finalName>hello-gadget</finalName>
</build>
</project>
Edit
web.xmlfile:<?xml version="1.0" encoding="UTF-8"?>
<web-app version="3.0" metadata-complete="true"
xmlns="http://java.sun.com/xml/ns/javaee" xmlns:xsi="http://www.w3.org/2001/XMLSchema-instance"
xsi:schemaLocation="http://java.sun.com/xml/ns/javaee http://java.sun.com/xml/ns/javaee/web-app_3_0.xsd">
<display-name>hello-gadget</display-name>
</web-app>
Edit
webapp/gadgets/HelloGadget/HelloGadget.xmlfile:<?xml version="1.0" encoding="UTF-8"?>
<Module>
<ModulePrefs author="eXoPlatform"
title="Hello World"
directory_title="Hello World"
description="The simplest gadget">
</ModulePrefs>
<Content type="html">
<![CDATA[
<div class='hello'>
<h2>Hello</h2>
<h6>Welcome to Hello World gadget!</h6>
<p><i>Powered by eXo Platform.</i></p>
</div>
]]>
</Content>
</Module>
Edit
webapp/WEB-INF/gadget.xmlfile:<gadgets xmlns:xsi="http://www.w3.org/2001/XMLSchema-instance"
xsi:schemaLocation="http://www.gatein.org/xml/ns/gatein_objects_1_0 http://www.gatein.org/xml/ns/gadgets_1_0"
xmlns="http://www.gatein.org/xml/ns/gadgets_1_0">
<gadget name="HelloGadget">
<path>/gadgets/HelloGadget/HelloGadget.xml</path>
</gadget>
</gadgets>
Include
WEB-INF/jboss-deployment-structure.xmlfile if the gadget will be deployed in JBoss:<jboss-deployment-structure xmlns="urn:jboss:deployment-structure:1.2">
<deployment>
<dependencies>
<module name="deployment.platform.ear" export="true"/>
</dependencies>
</deployment>
</jboss-deployment-structure>
Build the project with the command:
mvn clean install.Install
hello-gadget.warto:$PLATFORM_TOMCAT_HOME/webapps/for Tomcat.$PLATFORM_JBOSS_HOME/standalone/deployments/for JBoss.
Note
See details about deployment in portal extension section, especially if you use the traditional extension with jar to be backward compatible.
Start the server and go to UI to do the next steps.
Select → , then add this gadget into a category:
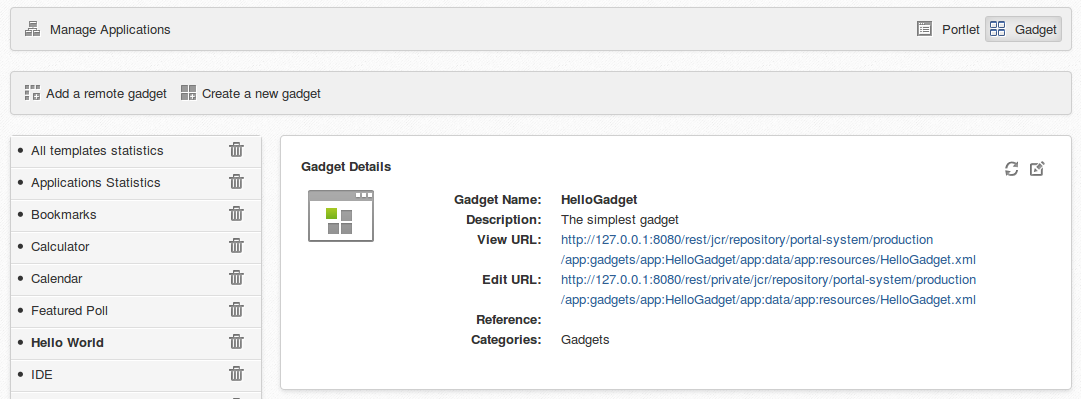
Click My Dashboard (the menu drops down from the user name in the Topbar) to add the gadget. The result:

Note
You can also create and edit a gadget completely via UI.