You can set the site permissions (Access permission and Edit permission) for a specific user via the Permission Settings tab.
The Permission Settings tab can be opened in some various ways, depending on the following approaches.
Click
 → → on the top navigation bar.
The Manage Sites page appears.

For new sites:
Select to open the Create New Portal form.
Click the Permission Settings tab.
For existing portals:
Select → tab.

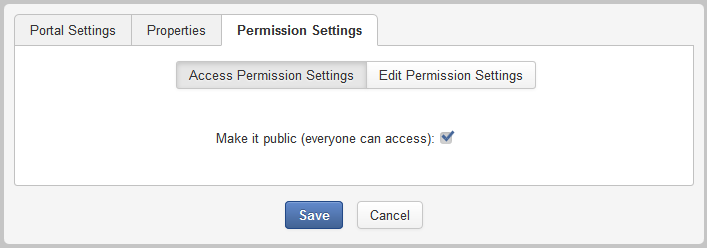
The Permission Settings tab appears as below:

Note
To access a site, you must belong to one of the groups that have the Access permission to that site.
Select the Access Permission Settings sub-tab to set the Access permission on the site.

If you want to assign the Access permission to users in the public mode (without signing in), simply select the Make it public (everyone can assess) checkbox.
If you do not want everyone to access the portal, first deselect the Make it public (everyone can access) checkbox, and do the followings:
Click
 to open the
Select Permission
form.

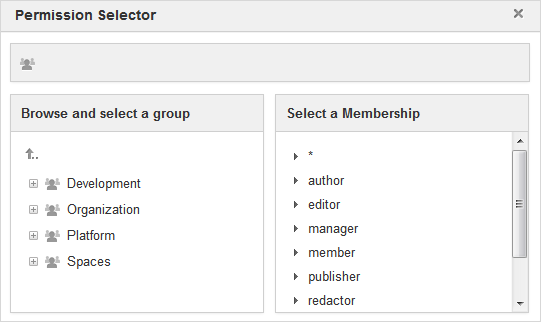
Select one group in the left panel, and one membership type in the right panel. In the list of membership types, the asterisk (*) means that any membership types of the selected group are selected.
Click to finish your settings.
After you have selected a membership type, the selected permission is displayed in the Access permission list.
You can only select one group with one membership type at each time. If you want to add more, click
 and select again.
Select the Edit Permission Settings sub-tab of the Permission Settings tab to set the Edit permission on a site and do the followings:

Click to open the Permission Selector form.

Select one group in the left pane and one membership type in the right pane. You can select * if you want to assign all available membership types to the selected group.
Click to finish your settings.