Warning
You are looking at documentation for an older release. Not what you want? See the current release documentation.
When using CKEditor to write/edit a document in eXo Platform, you can also:
Click
 to open the
Insert link to a site page
form.
to open the
Insert link to a site page
form.
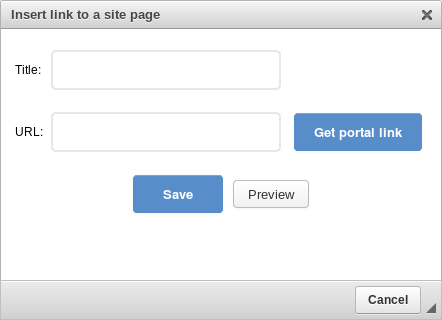
Enter the site title of the link in the Title field.
Enter the site URL manually, or you can also click to open a page containing all the sites in the same server, then select one that you want.
Click to view the site.
Click to accept inserting the site to the document.
Click
 to open a page.
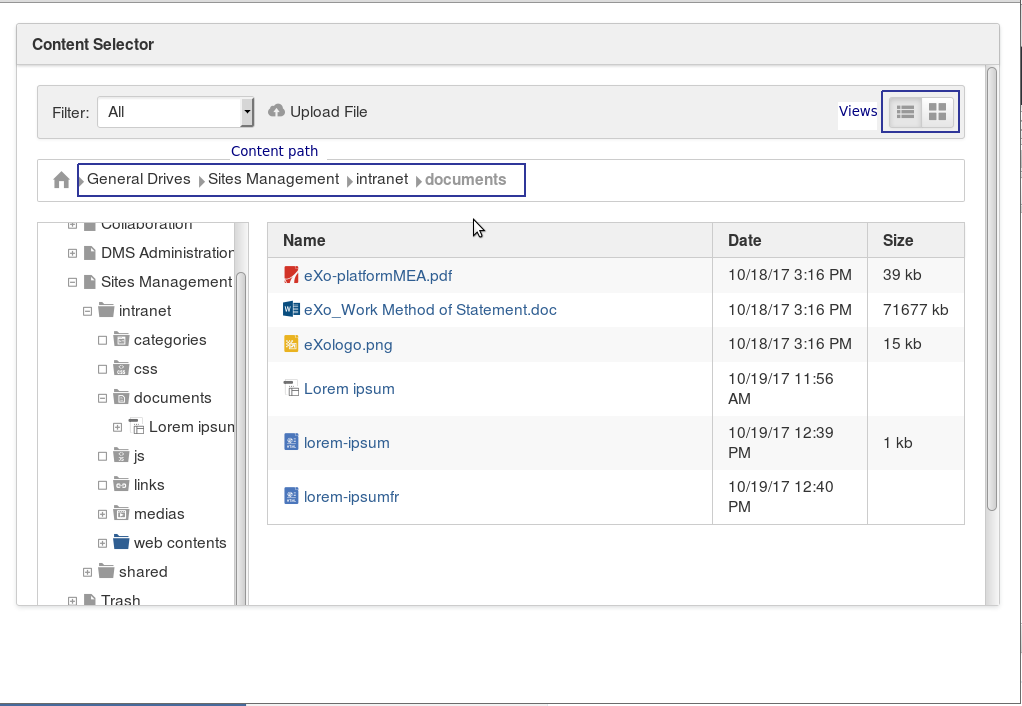
Click the plus before the document name, or click directly the document name in the left pane to show the content in the right pane, or click
 to upload a file from your local device.
Click content that you want to insert to the document.
Click
 to open the upload image form.

Click on to open the WCM Content selector allowing to upload from desktop or to select an existing attached image.
By default, the WCM content selector opens the folder where the webcontent/Illustrated webcontent will be saved.
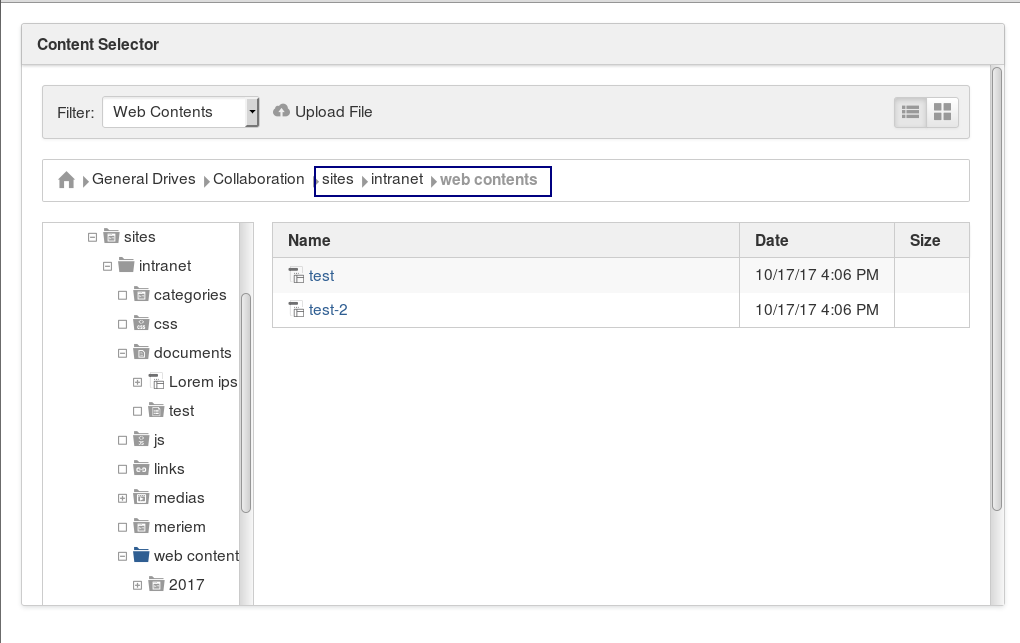
In this case, the webcontent is added under
sites/intranet/web contents.If the WCM Content selector has already been opened and a file has been selected then this last location will be displayed.
As an example of this case:
Go to file Explorer under /sites/intranet/web contents and create a new webcontent.
Click
to insert an image and then .
The WCM content selector opens the folder
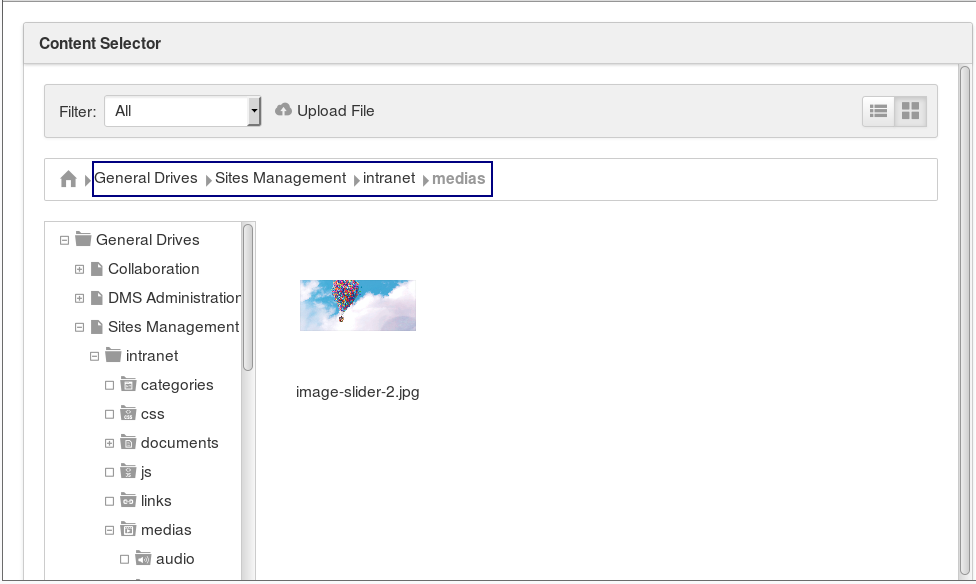
/sites/intranet/web contents(the first case). Browse to get, for example, under the pathsites/intranet/medias, upload an image and insert it to the webcontent.Reclick
and then on , the WCM contents selector will open the last location
which is sites/intranet/mediasand not the default one/sites/intranet/web contents.
Select an image from the existing ones or click on
 to upload an image from your desktop then select it.
The image will be first previewed in the Image properties form.
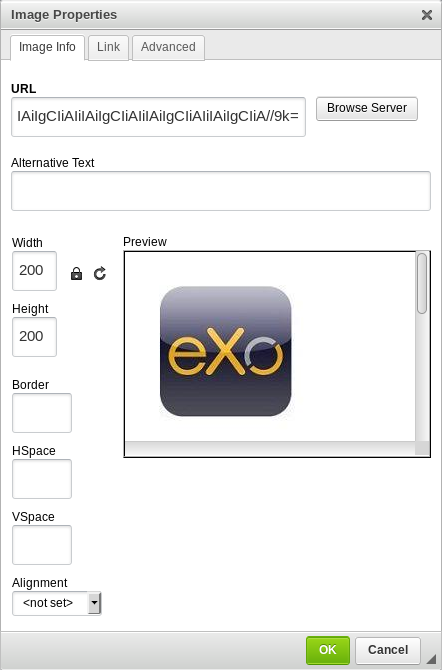
Click , the image will be inserted in the webcontent.
To finalize the webcontent/illustrated webcontent creation, click on or .
