After going to the Spaces page, you can add a new space so that you and your collaborators can work together or discuss specific topics as follows:
Click
 at the top left corner of the
Space
page to open the
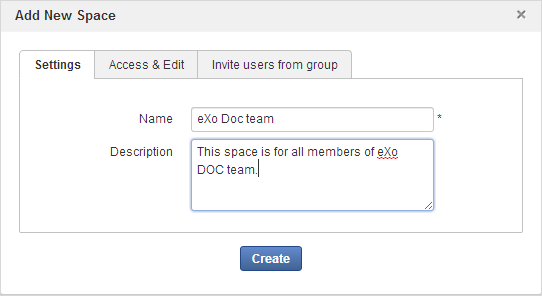
Add New Space
form.
at the top left corner of the
Space
page to open the
Add New Space
form.
In the Settings tab, enter a space name (required and from 3 to 30 characters) and description (from 0 to 255 characters).
In the Access & Edit tab, select an access level.
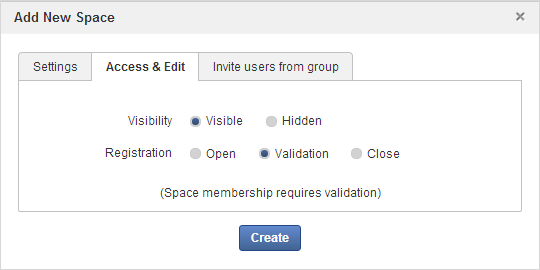
Visibility: By default, the Visibility value is set to be Visible.
Registration: By default, the Registration value is set as Validation.
Open: The users sending their requests can join the space without any validation.
Validation: The membership must be validated by the space manager.
Close: The user cannot request for joining, but only the space manager can invite him.
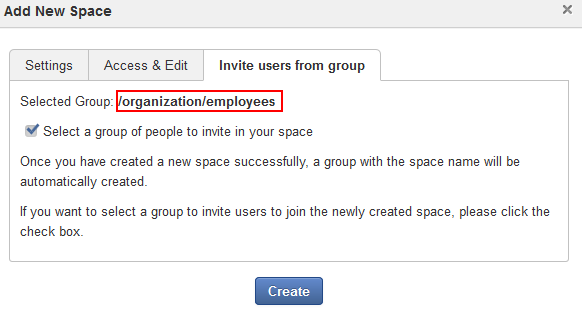
In the Invite users from group tab, select all members of a specific group for your space where you are already 'manager'.
One of the two following cases occurs when you select this tab.
The first instance: You have been already the manager of a group. It means that you have created at least a space.
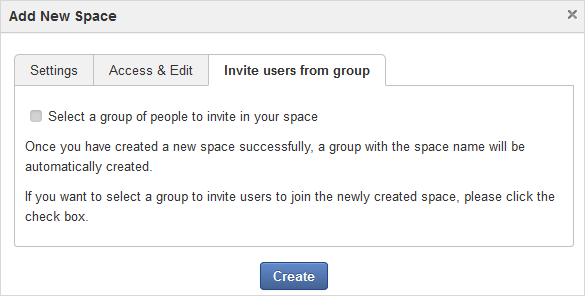
i. Tick the Select a group of people to invite in your space checkbox to open the form below.
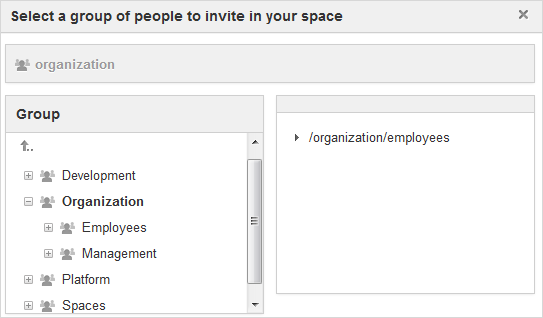
ii. Select the group in the left pane, then its child group in the right pane.
You will see your selected group as below.
Note
To remove the selected groups, untick the Select a group of people to invite in your space checkbox.
After you have selected one existing group, all users in that group will be invited to join your newly created space.
The second instance: You have not been a manager of any group yet. It means that this is the first time you create a space, so you cannot select a target group.

Click to finish adding your new space. The new space appears.

By default, the space is featured with some default applications pages on the space navigation bar. Simply click each application to use its functions. See Managing space navigation bar for more details.
Activity Stream: Displays changes on the space information and all the activities of space members. See Using the Activity Stream for more details.
Forums: Allows space members to exchange their opinions on a subject. See Building Your Forum for more details.
Wiki: Allows space members to work on the same Wiki pages of the space, such as editing a Wiki page. See Working With Wikis for more details.
Documents: Allows space members to work on the same documents, such as editing a document in the space. See Managing Your Documents for more details.
Agenda: Allows space members to create/edit the same events/tasks in the space calendar. See Managing Your Calendars for more details.
Space Settings: Allows the space manager only to edit the space. This application is invisible to space members, except the space manager. See Managing space settings to know how to edit a space.
Answer: Allows space members to create categories and post questions and answers about a specific topic. See Building Your Answers.
FAQ: Allows space members to see the list of categories, questions and answers in the Answers application.
Members: Displays the list of space members.
Note
When accessing the Members application of the space, you will see a list of space members. If there are so many members, the Show More bar will appear at the page bottom. Click Show More to see more members.
When a new space is created:
A forum with the same name as this space is also created in the Forums application of the portal. In case this forum is removed from the Forums application, all members of the space cannot see the space's forum anymore when clicking Forums on the navigation bar of space.
A group calendar with the same name as the space is also created under the Group Calendars in the Calendar application of the portal.
An activity is created on the Activity Stream and a comment is added to the activity and informs that you have just joined the space. In case you or other space members left the space, the number of the space members will be updated to the activity.

Note
When more than two space characters are input between words in the space name, these spaces will be converted to ONLY ONE space when being displayed. With space characters at the beginning and end of space names, these space characters will be also omitted.
After being created, your space will be automatically added to the list of MY SPACES on the left panel. Therefore, you can access your space by clicking its name.