10.8.1. Creating a new site

Note

You can perform this action only when you are a member of the /platform/administrators group.

  1. Click PortalSites on the top navigation bar, then click Add New Site in the Manage Sites page;

    Or, click EditSiteAdd Site.

    By default, the window to create a new site, which contains the Portal Settings tab, will open.

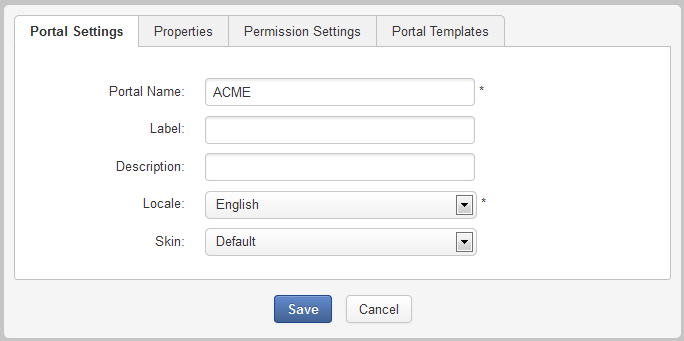
  2. Fill in the Portal Name field. The field is required, unique and must start with a letter. Only alphabetical, numerical, dash and underscore characters are allowed for this field with the length from 3 to 30 characters.

  3. Select the default display language for the site from the Locale field.

  4. Click the Properties tab to set the properties of a site.
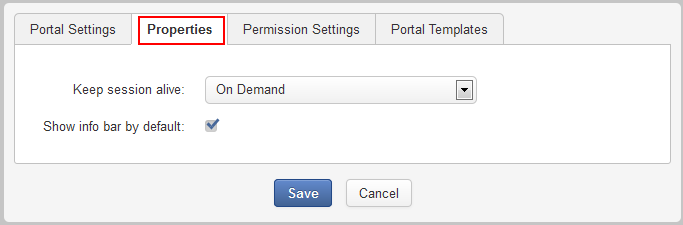
    Details:

    Field Description
    Keep session alive Keeps the working session for a long time to avoid the time-out. There are 3 options:

    Never: The session will time out if the logged-in user does not do any action after a given period. In this case, there will be a message which asks the user to log in again.

    On Demand: The session will time out to the application's requirement. If there is no request from the application, the session will time out after the given period that is similar to that of Never.

    Always: The session will never time out even if the logged-in user does not do any action after a long time.

    Show info bar by default Ticks the checkbox to show the info bar of the portlet by default when the portlet is used in a page of the site.

    The "Show info bar by default" option only takes effect on new portlets as from the time you select the checkbox rather than all portlets of the site. In particular, after creating your new site with the "Show info bar by default" option checked, newly created portlets of the site will be displayed with the info bar by default. However, if you deselect this option when editing the site's configuration, the former portlets with the shown info bar are remained; meanwhile new portlets, which are created after this option is deselected, will be shown without the info bar.


  5. Click the Permission Settings tab to set permissions on the site.

    The list of Access permissions for the portal is empty by default. You have to select at least one or tick the Make it public (everyone can access) checkbox to assign the Access permission to everyone.

    Note

    For more details on how to grant permissions on the site, see Setting permissions on a site.

  6. Click the Portal Templates tab to select the template for your site.

  7. Click Save to accept creating your new site.

Note

After creating a new site, you can access it via the URL format: http://{domain-name}/portal/[name-site]. For example, accessing the ACME site: http://mycompany.com:8080/portal/acme.

Copyright ©. All rights reserved. eXo Platform SAS
blog comments powered byDisqus